Struggling with a bricked Android phone? Well, you don’t need to. Here is everything that you can do to fix your soft or hard-bricked Android device.
We are very fond of our android devices, and we try new and different things in our android devices such as testing new ROMs, kernels or other tweaks like TWRP Recovery etc.. However, sometimes, things go wrong. So don’t panic in this situation as Android is an open operating system and thus its more comfortable to fix soft-bricked devices very quickly.
So, in this article, we will give you some solutions to fix your soft-bricked Android device. However, remember one thing the solutions will depend on your device because it becomes quite tricky sometimes to fix a soft brick phone. I hope the process will help you with your problems.
Before starting with the solutions, you must know the difference between hard and soft bricks.
What’s The Difference Between A Hard and Bricked Phone?
Both types of bricked phones (hard and soft brick) prevent it from booting. However, they are slightly different from each other with different causes and gravity of the problem.
Soft brick: A soft brick problem is caused by a software error, crashes, and makes your device switch on/off automatically every time you turn it off/on. This phenomenon is known as the boot loop.
Soft-bricked Android problems are not difficult to fix as compared to hard-brick Android problems. It is convenient to say that a soft-bricked device is halfway dead.
Hard brick: A hard brick error is caused when a kernel, which is an interface for the software, communicates with the hardware and is tempered. A hard brick problem is a serious problem, and it is difficult to fix.
A hard-bricked phone is not detected by your Windows operating system (Laptop or PC) when you plug it in. It requires some troubleshooting techniques to fix this problem. Hard-bricked problems are infrequent to see as compared to soft-brick problems.
That’s all with the basics. Let’s now proceed to the solutions to fix your phone’s soft-bricked problems. These solutions will surely get back your phone to its normal working conditions, without losing any essential data.
Guide To Fix Your Soft Or Hard-Bricked Android Phone
#1 Use A Toolkit For Your Device
This is one of the easiest ways to fix this problem. First, you have to check the XDA forums if there is a toolkit available for your device. Toolkit gives you the advantage of installing the correct drivers, downloading the right files, and guiding you through the process of getting your phone back running.
If you are still not satisfied with the toolkit and want to do everything with hand then install the latest ADB and fastboot drivers on your computer which helps you fix this problem. There are two ways to do this:
- Download the https://developer.android.com/studio and remove them from there.
- Or, download software for Mac and Windows.
Note down the exact location of the drivers or copy them in a new accessible folder because you will need them later.
In The Case When Your Bricked Android Phone Refuses To Boot

Image credit: flickr.com
Your Android device does not boot, if you installed something which is not working with your device or your device is stuck somewhere. This process is called the Boot Loop. This is typical because of a ROM a kernel or a mixture of both.
What happens in this situation?
This may be the case of system memory overloading. So we are going to solve this problem by following some simple steps so that you can easily find your problem and get the perfect solution for it.
Step 1: Does your device boot?
If yes, then go directly to step 3.
If no, then follow step 2.
Step 2: Hold the power and volume button and try to get your phone into recovery mode.
Step 3: Are you able to access the recovery mode or bootloader?
If yes, then go directly to step 4, but if no then again go to step 2.
Step 4: Do you have your Android backup?
Yes: Go to step 9
No: Go to step 5.
Step 5: Do you have a custom ROM zip file on your device?
If yes, Go to step 6.
No: Go to step 7.
Step 6: Install the former working custom ROM and reboot your device. Also, don’t flash the kernel.
Step 7: Try to push a working ROM on your device. If your device has an SD card slot then great, you can simply place the files on it and install the files later. But if your device does not hold a microSD card then transfer your files to internal storage with the help of ADB.
Step 8: Are your stock ROM files available?
Yes: Try installing them. Most stock files come with instructions on how to install them.
Follow all directions, and your device should be working correctly.
Step 9: Restore your backup data. Your device should be working again.
Custom recovery is gone
The Case II And Ways To Fix Bricked Android Phone
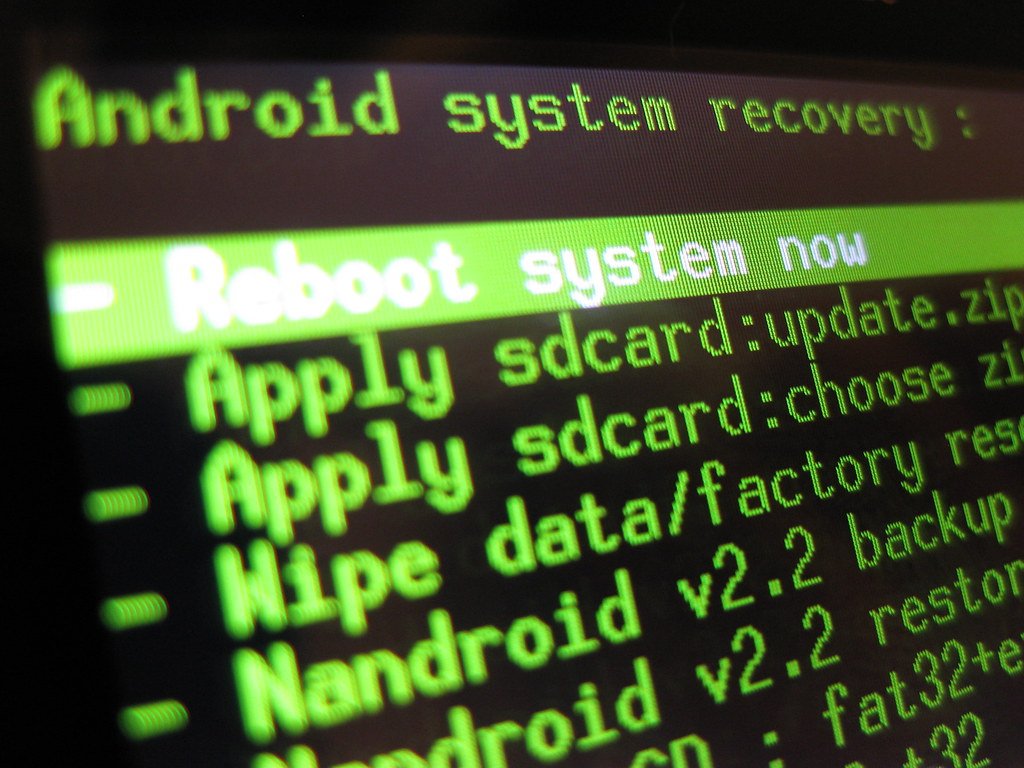
Sometimes when we flash a ROM, a ROM can overwrite your custom recovery. There are two ways to get it normal.
#1 In The Case When You Have Root Access

Image credit: flickr.com
- Install the ROM Manager and use it to flash clockwork mod recovery
- Install the TWRP app and use it to Flash team win recovery project.
I would suggest you use the TWRP app because that has a simple UI and no complex features. After doing the above steps, custom recovery on the bricked Android phone should be working again.
#2 In The Case When You Don’t Have Root Access.
- Install the TWRP or CWMR image for your device and save it into the same directory where the ADB and fastboot drivers are saved.
- Boot them into the bootloader.
- Navigate the directions from the Windows command or Mac terminal, where the ADB and fastboot drivers are located.
- And finally, execute the following command
Fastboot flash recovery filename. mg
Note: Filename. img is the name of your recovery image which you downloaded earlier.
Well, yes, I agree that all the above steps are a little tricky, but I am sure that by following these steps, the custom recovery should be working again.
How to get files to or from a bricked Android phone if you can’t boot to Android.
If your Android device does not boot, then it is difficult to get files to your device or from your device. But luckily now TWRP and CWM include ADB drivers. For this, you have to follow some steps.
- Navigate the direction of ABD and fastboot drivers from Windows or Mac terminal use.
Use the following command to push files directly to your device. - ADB push file or folder name directory on your device.
- Through this command, you can transfer the complete folder backup from your computer to your device.
- Use the following commands to get files from your device.
ADB gets a file or folder name directory on your computer.
Example: ADB gets/downloads/ backup.
Through this command, you can transfer the complete folder of downloads from your device to /backup/ folder on your computer.
The files should now be shown in your computer or internal storage.
Summary
Well, there are many other ways to get your bricked Android phone back to life again. However, the mentioned approaches and methods are among the most effective ones.
I hope you enjoyed reading this article and it has helped you in giving first aid related to your soft brick problems. Do follow TheAndroidPortal website and for more updates related to Android keep in touch with us.


