Want to enable init.d support on your Android device? Here is the ultimate guide to help you do so with ease.
Customization on Android gadgets has been a trend for the past decade, and most of people prefer their opinion over it. However, using the unauthorized log for your device may subject your Android device to a state of risk and lead to random error.

However, Enabling Init.d support on Android reduces the degree of risk and smoothens the customization process. So, in this article, you will be discovering how to Enable Init.d support on Android. So, stay tuned with us till the end of this post.
What Is Init.d Support?
Init.d support is a modification platform for Android users in which they can run different scripts for better Android development and customization.
Also, it performs smoothly to boost the tweaks bounded with Android. Furthermore, anyone can enable Init.d support on their Android device using the methods mentioned down below.
How To Enable Init.d Support On Android?
With The Help Of Terminal Emulator
You need to follow some of the easy steps to Enable Init.d support on Android.
STEP 1: Go over the Google Play Store type Terminal Emulator in the search bar, and download it on your Android device.

STEP 2: Once you have downloaded the Terminal Emulator, then type “sh /sdcard/term-init.sh,” Command in the command prompt.

STEP 3: Wait till the script executes the command, and follow the on-screen instructions for further process.
STEP 4: Go over the Allow Init.d option from the menu bar and again follow the on-screen instructions.
STEP 5: Go over the Activate option from the menu bar and tap on it. So, you are all set now and successfully Enabled Init.d support on Android.
METHOD 2: Enable Init.d support On Android With Universal Init.d Support Application
Also, you can Enable Init.d support on Android by using the Universal Init.d support application. So, follow the below steps carefully.
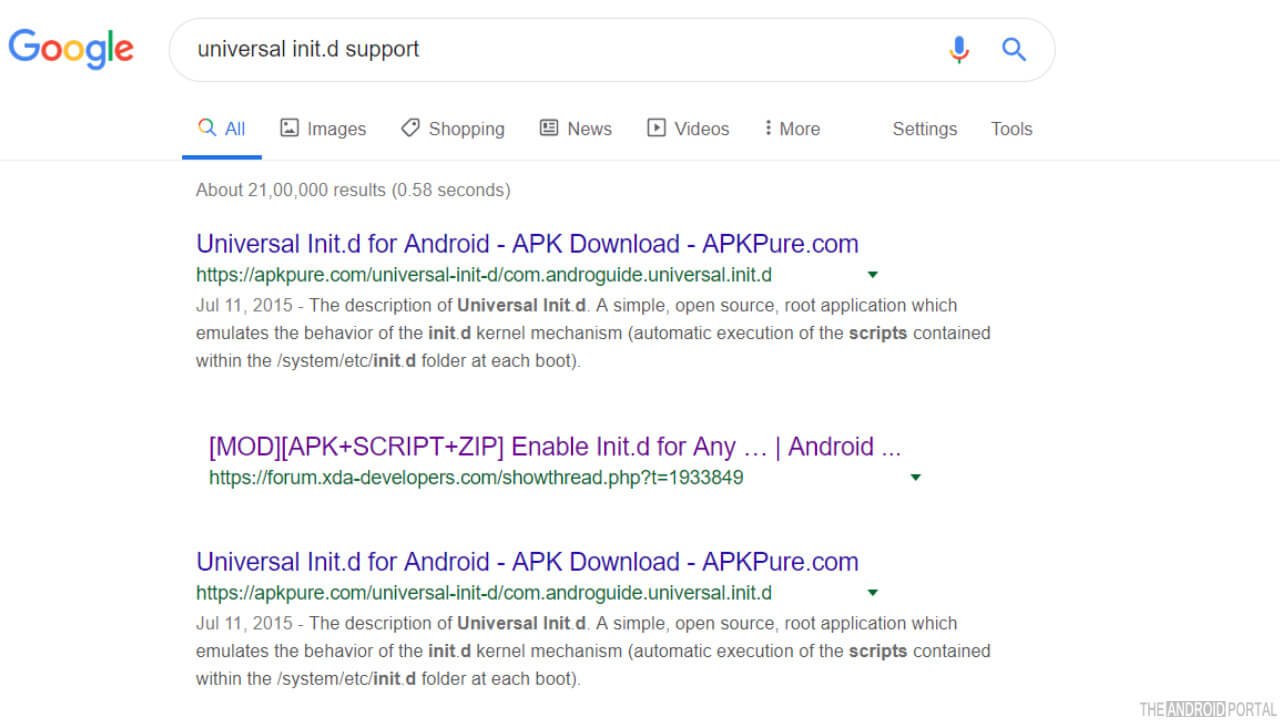
STEP 1: Open the web browser on your computer type Universal Init.d support in the search bar and download the file. Also, you can get the file directly by clicking here.

STEP 2: Once you have downloaded the file, then transfer the file to your Android device.

STEP 3: Now extract files into a safe destination. Also, pull over the “00test” file from the extracted data, and copy it.
STEP 4: Create a folder named “init.d” and paste the “00test” file into that folder.
STEP 5: Now change the permission from normal to “rwxrwxrwx” of the “init.d” folder and “00test” file.
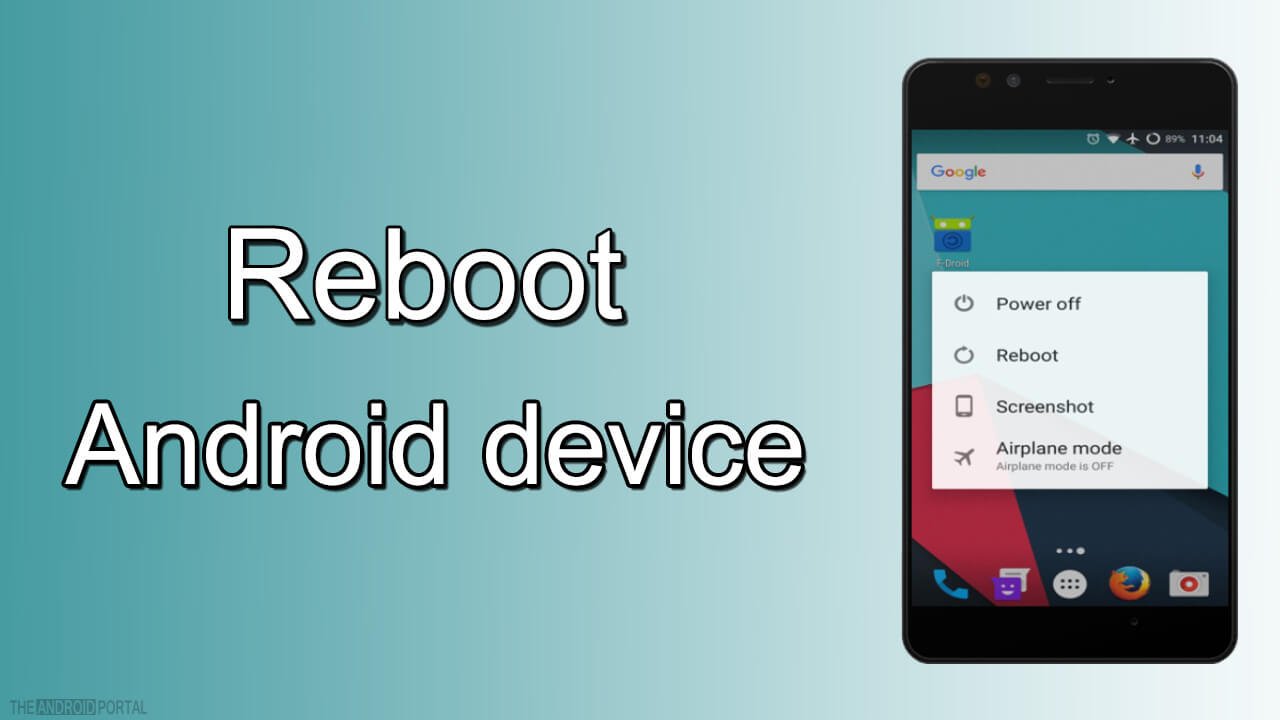
STEP 6: Now reboot your Android device and wait for its completion.

STEP 7: Go over the folders and file section and search for the “Test.log in /data” file. Furthermore, if your Android is showing such a file, then you are all set with Enable Init.d on Android.
How To Check Whether The init.d Support Is Already Enabled On Your Android Device Or Not?
To check whether the init.d support is available on your device or not; you need to follow the below steps.
STEP 1: Go over the Root file manager on your Android device and open it. Also, you need to download it if you haven’t already downloaded the one. Furthermore, you can click here to explore some of the best root file managers that we recommend rooted Android smartphone users to use.

STEP 2: Search for “/system/etc”, and go over the folder.
STEP 3: Check for the ” init.d” file in the navigated folder.
STEP 4: If your Android device is showing an ” init.d” file, then your device is having enabled init.d support.
Note: To proceed with all the above methods, you need to have your phone rooted. Neither these methods work on unrooted Android phones, nor unrooted phones allow access to proceed and enable init.d on it. So, keep these facts strictly in your mind.
Summary
So, that is everything you should know to enable Init.d support on your Android smartphone or tablet. Also, we hope you have found this post helpful, and it has helped you.
Furthermore, if there is any step stopping you from proceeding forward, please comment below, and we will help you out. So, that is all for now, and thanks for reading this post at TheAndroidPortal. Also, do follow us to read more such posts and stay updated with everything about Android.


