Your Apple Watch won’t turn on or stuck? Or looking for solutions to fix this problem? If yes, you are here on the right webpage. Apple Watch is one of the excellent smartwatches on the market as it comes with decent battery life and lots of features that make life easier.
Like iPhones or iPads, Apple watches are also reliable. But like all gadgets, the Apple Watch also diminishes from time to time. That’s why it creates problems like being stuck on the same screen or the watch won’t turn on or charge. So, if your Apple Watch is not responding, read our article further and get detailed solutions to fix this issue.
As we discussed above, the Apple Watch is one of the excellent watches to handle your day-to-day activities. It is the watch that not only tells you the day and date but also allows you to send or receive text messages, receive calls, and much more. It is the best tool to handle your day-to-day tasks.
But like other devices, the watch is prone to malfunctions and creates several problems. Some users complain that their watch won’t turn on or are stuck on the same screen. To fix these issues, here we will discuss the best possible solutions to fix the Apple watch that won’t turn or charge. So, without further chit-chat, let’s take a quick look at the solutions below.
Solutions To Fix Apple Watch Won’t Turn On Or Charge
Solution 1: Check The Charger And Battery Of Your Apple Watch

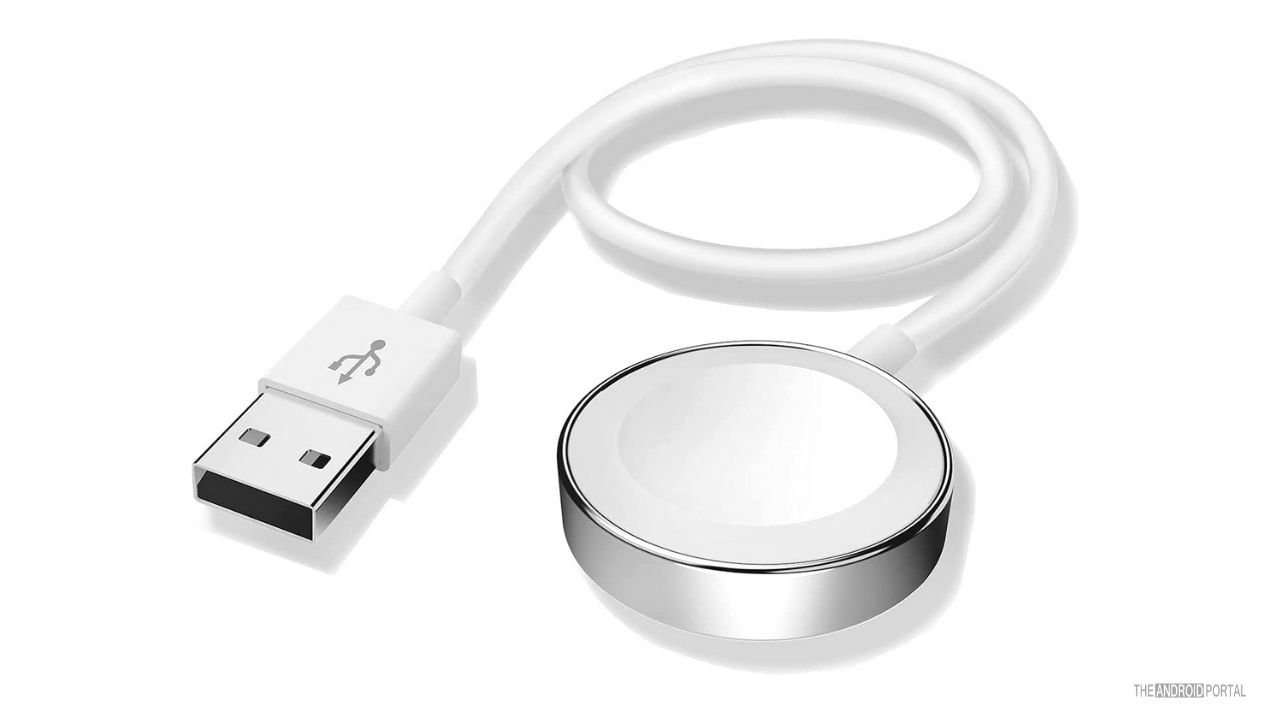
If your Apple Watch won’t turn on, the simple solution is to check your device’s battery. Maybe the battery is too low or dead.
Connect the watch with the charger and try to turn it on after a few minutes. If it doesn’t work, use a different charger and check whether it charges or not.
Solution 2: Force Restart Your Apple Watch

If your Apple Watch is frozen or stuck on the same screen, it’s time to force restart your Apple Watch to unfreeze the operating system. Here are the quick steps to force restart.
Step 1: Press and hold the “Side Button” and “Larger Circular Digital Crown” for 10-15 seconds.
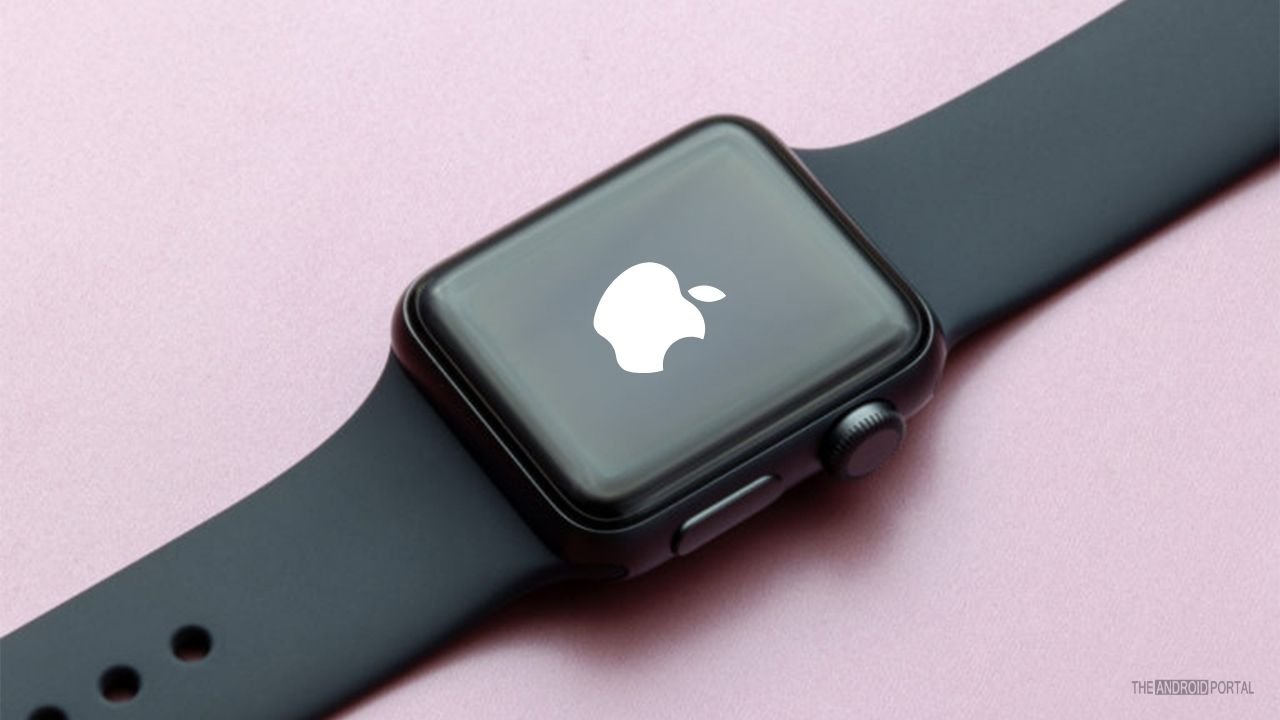
Step 2: Once the “Apple logo” appears on the screen, release both the buttons and wait for a few seconds.
Step 3: If the watch turns on, it works smoothly. If not, trying other solutions to fix Apple Watch won’t turn on the issue.
Solution 3: Switch Off Power Reserve Mode

The fantastic power reserve mode of the Apple Watch is similar to the low mode for the iPhone.
The power reserve mode allows the Apple watch to shut down all its functionality, and the screen gets completely dark. Restart your watch to exit from the power reserve mode.
Solution 4: Turn Off The Screen Curtain Mode
If the screen curtain feature turns on, the watch face darkens even when it functions smoothly. It does not allow interaction via voice. To turn off screen curtain mode, here are the steps to follow.
Step 1: Go ahead and open the “Watch App” on your iPhone.
Step 2: Now click on “General Accessibility” and then tap on the “Voice Over” option.
Step 3: Toggle the “Screen Curtain” switch from blue to grey from the list to turn it off.
Step 4: If you don’t want to use the “Voice Over” feature, turn it off for better functioning.
Solution 5: Remove The Apple Watch And Pair It Again With The iPhone

This solution sounds unentertaining because there is no relation between removing the watch and the screen won’t turn on. But somewhere, it is the ideal solution to fix even complex issues. Let’s take a try.
Step 1: Open the apps drawer and search the “Watch App” on your iPhone.
Step 2: Now, go to “General Section” and scroll down the list until you see the “Reset” option.
Step 3: From the menu, click on “Erase All Content And Settings”.
Step 4: Wait until your watch is removed. Once done, reconnect it and check whether the issue is fixed.
Wrap Up
Those are the solutions to fix the Apple Watch that won’t turn on or charge issues. If all the above solutions fail, the only solution is to take the watch to the nearby service centre.
Other miscellaneous problems are outdated software, dirt, and debris in the charging port, etc. We hope the above solution helps in fixing the issue. That’s all for now, and thanks for reading this post on The Android Portal. Do follow us for more posts, and stay tuned for the latest updates.


